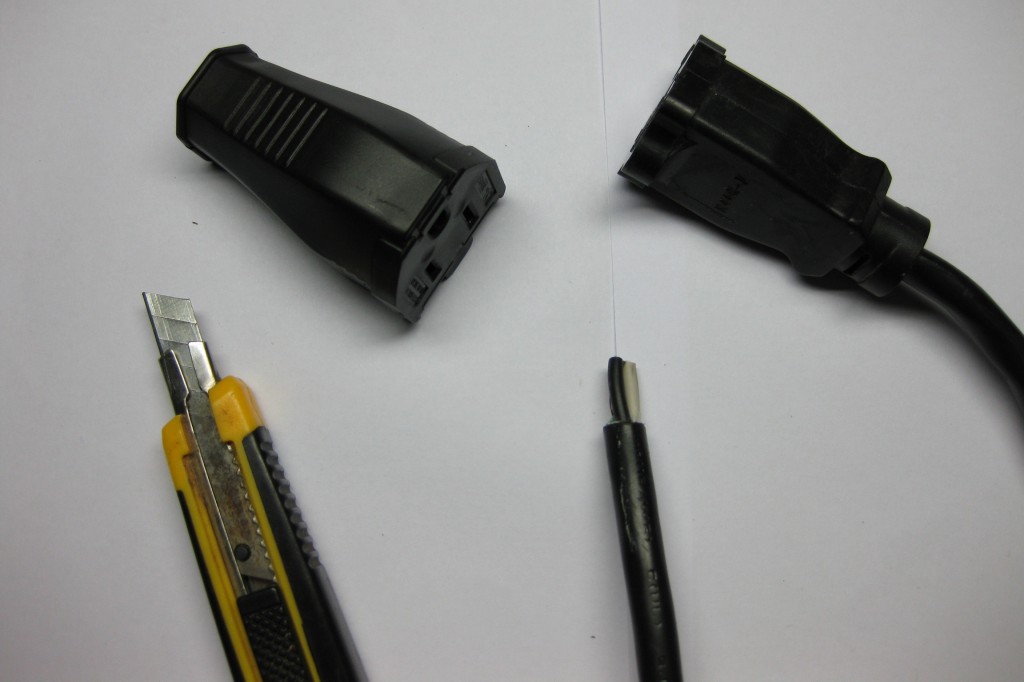
Do you have an extension cord or power cord damaged near the plug? Here is how you can repair that cord in only a few minutes with just a screwdriver by replacing the extension cord plug. Not only is this fix quick, but it also costs less than $5.
In a previous article, I wrote about how I spliced an extension cord with a soldering iron, lead solder, and heat shrink tubing after I cut the cord in half while trimming the hedges. While this can be considered a permanent repair, OSHA rules do not permit repairing using heat shrink, electrical tape, or duct tape due to less abrasion resistance.
Damaging an electrical cord on a worksite is extremely common. Power tools, rolling over, or pinching a power cord can create an electrocution hazard. For this reason, OSHA states damaged extension cords should be thrown out.
Here is how to easily fix a damaged cord by replacing the extension cord plug so that it’s like new minus a few feet.
Table of Contents
Tools and Materials Needed
To do this DIY repair, you only need three items:
- Screwdriver
- Utility knife or pair of wire strippers
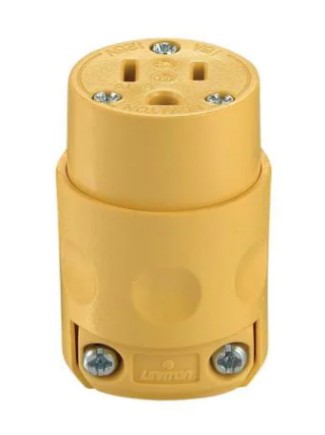
- Replacement plug or outlet
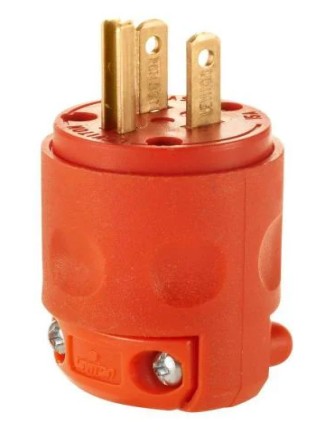
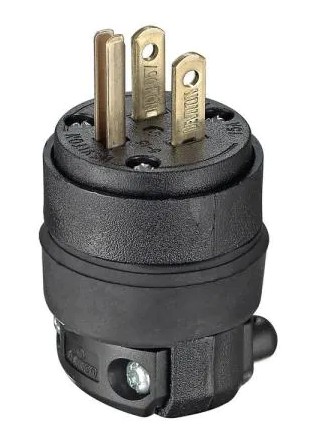
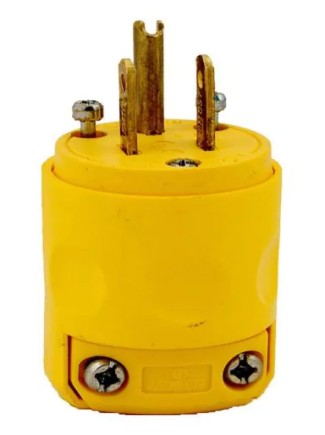
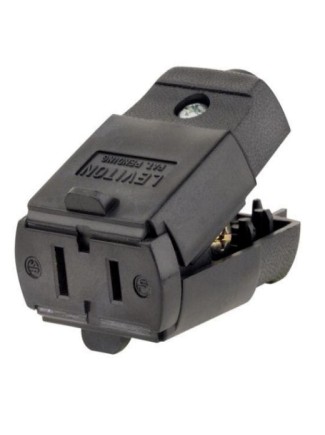
You can find plugs and outlets available in all colors – black, white, brown, orange, and yellow to match the color of your extension or electrical cord.
For your convenience, I’ve included links to both Amazon and Home Depot for the different plugs and outlets shown below in case you can’t wait two days to finish trimming those hedges.
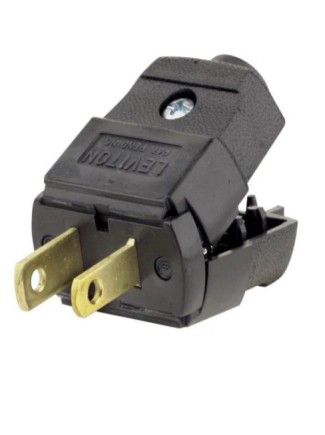 | 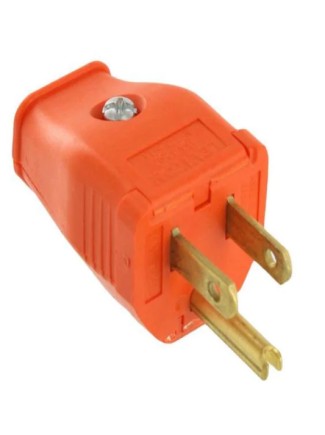 | 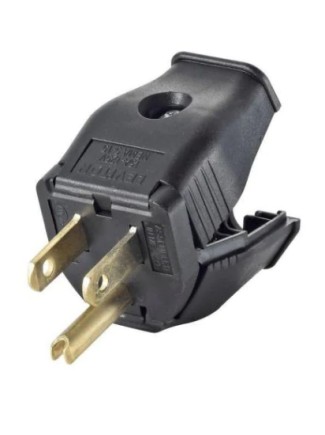 |  |  |  |
| Amazon Home Depot | Amazon Home Depot | Amazon Home Depot | Amazon Home Depot | Amazon Home Depot | Amazon Home Depot |
 | 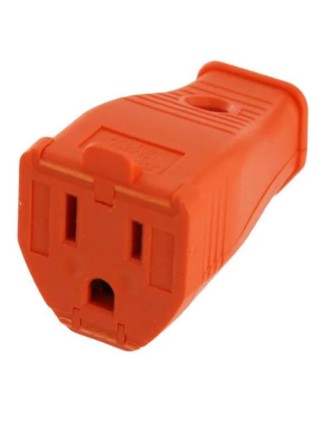 | 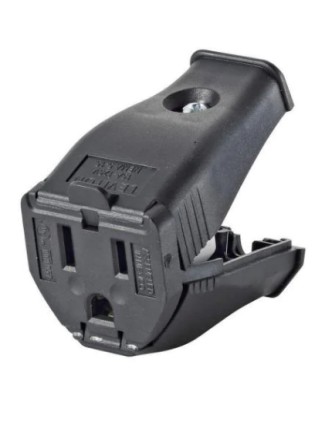 | 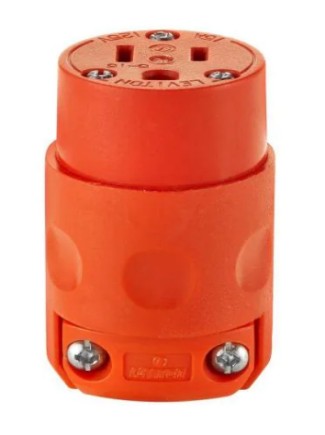 | 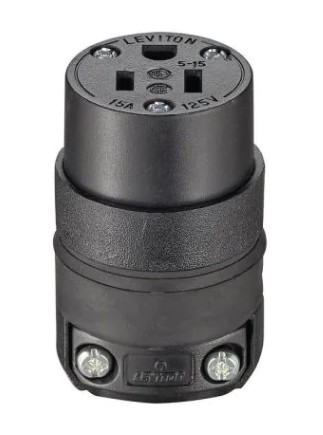 |  |
| Amazon Home Depot | Amazon Home Depot | Amazon Home Depot | Amazon Home Depot | Amazon Home Depot | Amazon Home Depot |
How to Replace an Extension Cord Plug
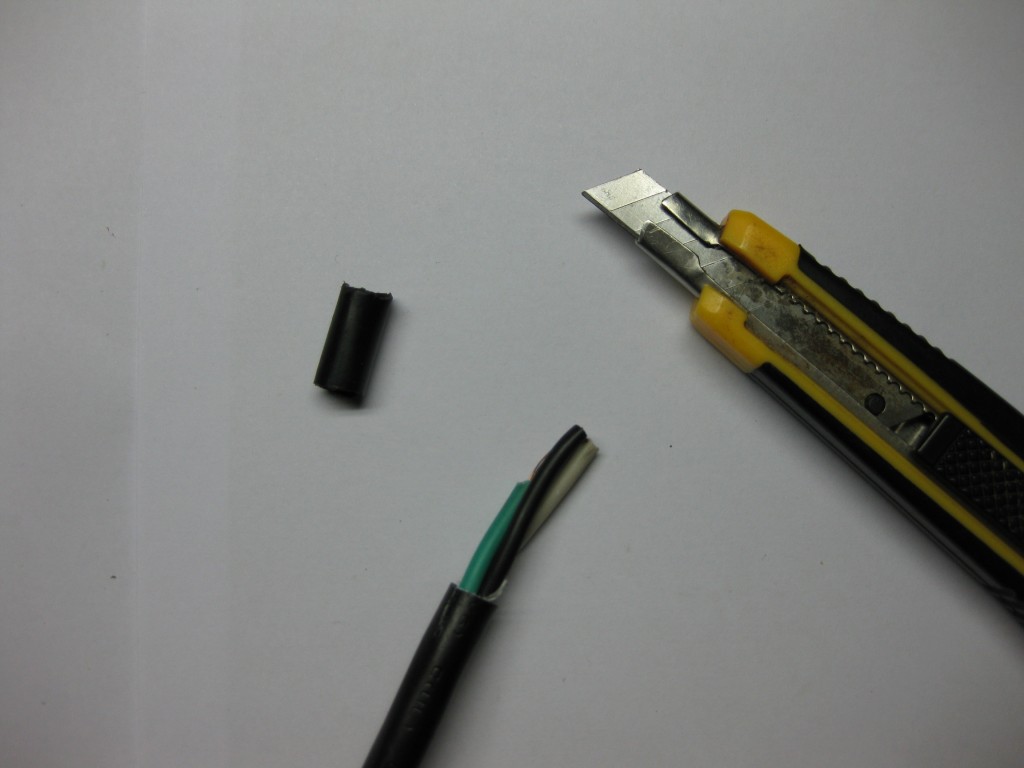
Step 1: Strip the Cord Jacket
Using the utility knife, remove approximately 1.5 inches of the outer jacket of the extension cord to expose the inner wires
Step 2: Strip Wire Insulation
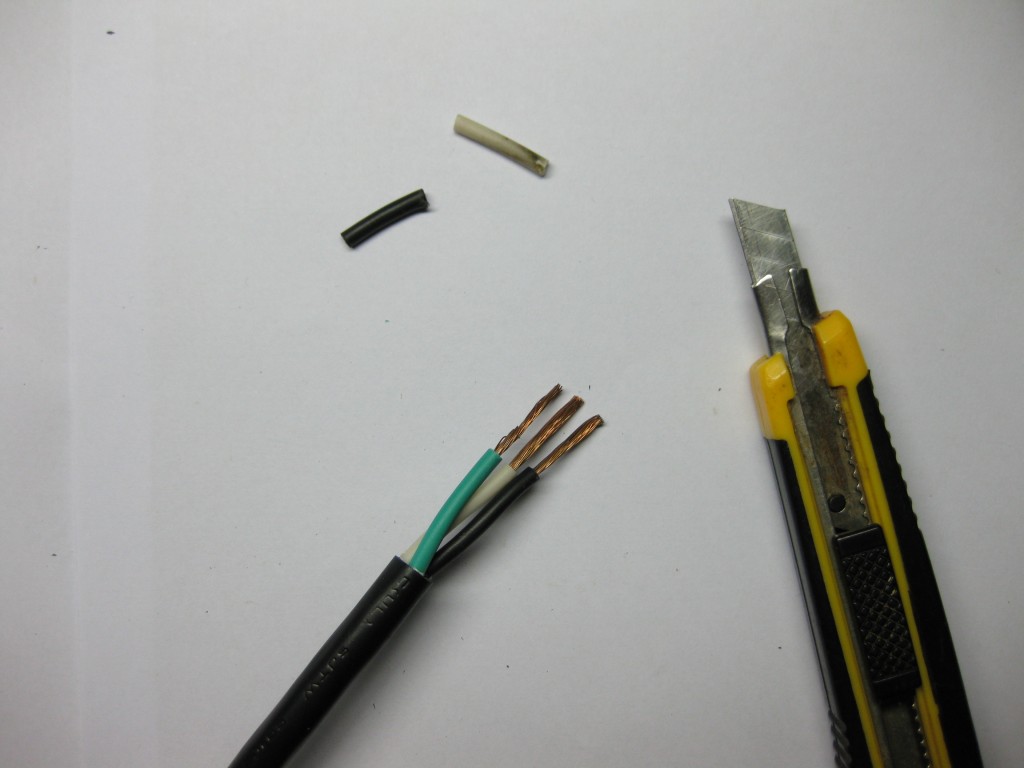
Strip approximately .75 inch of the insulation using wire strippers or the utility knife to expose the copper wiring for each of the wires
Step 3: Connect Wires
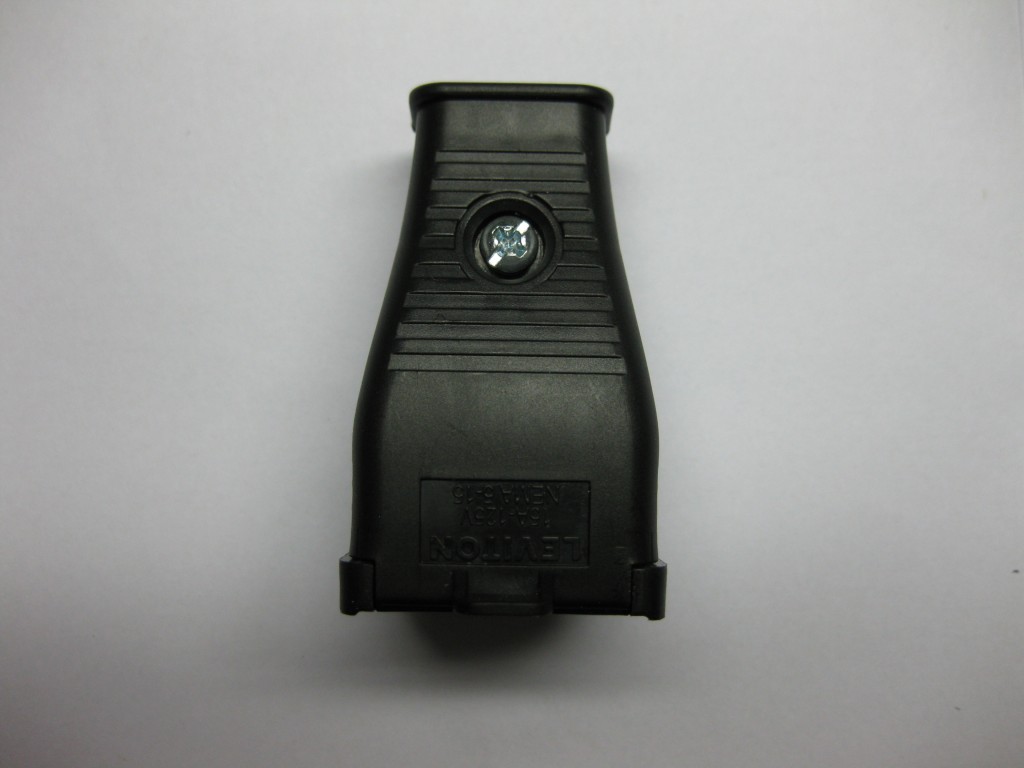
Locate the screws on the replacement plug, and remove the screws with your screwdriver. The plug will usually open up like a clamshell or come apart.
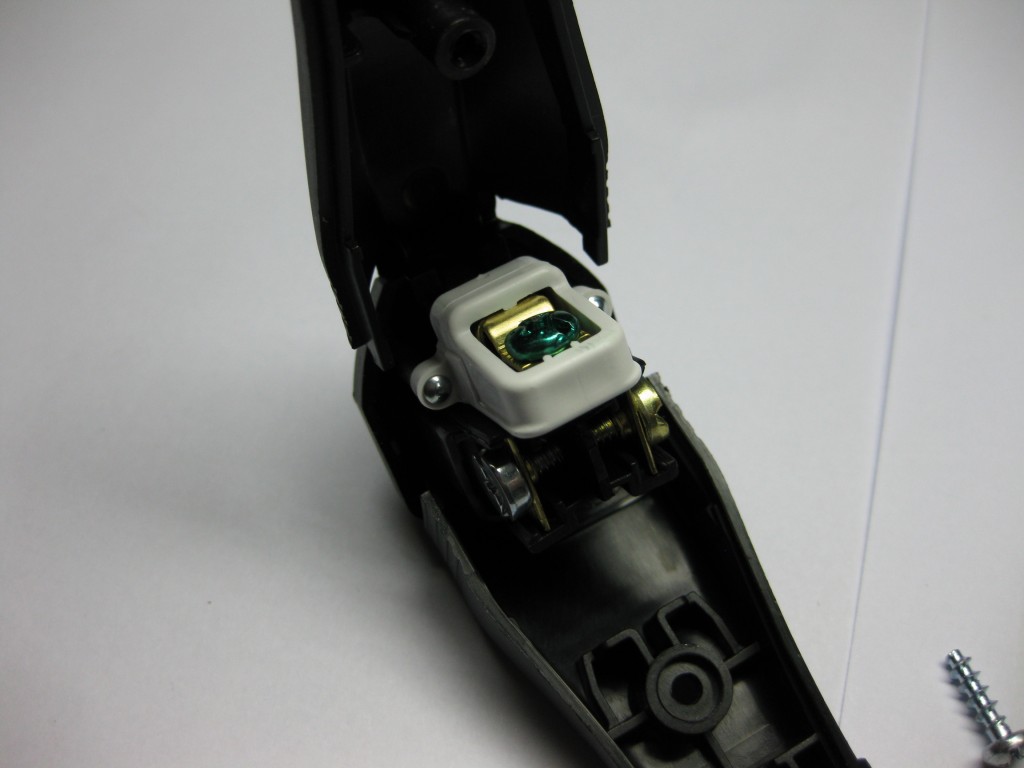
Loosen the terminal screws.
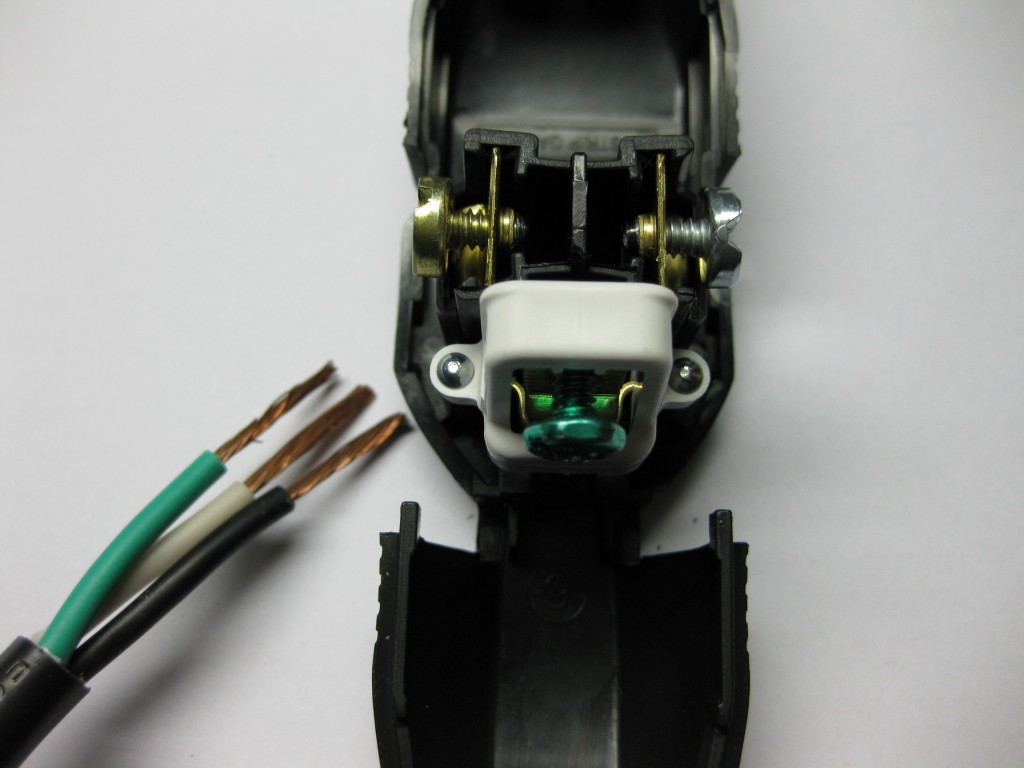
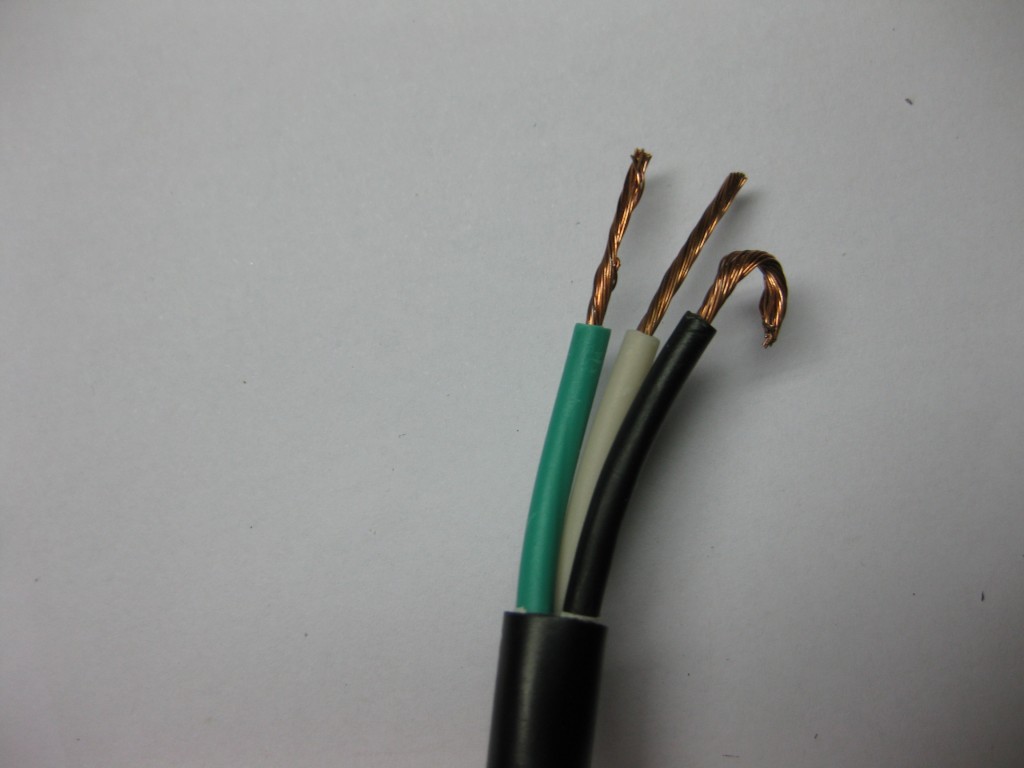
If your extension cord has stranded wires, twist the wire strands together within each wire. Make a hook and loop the wires around the terminals clockwise.
With the screw facing you, the wire will loop around the screw from the left, over the top, and to the right. This way, the wire will stay wrapped around the screw as it is tightened.
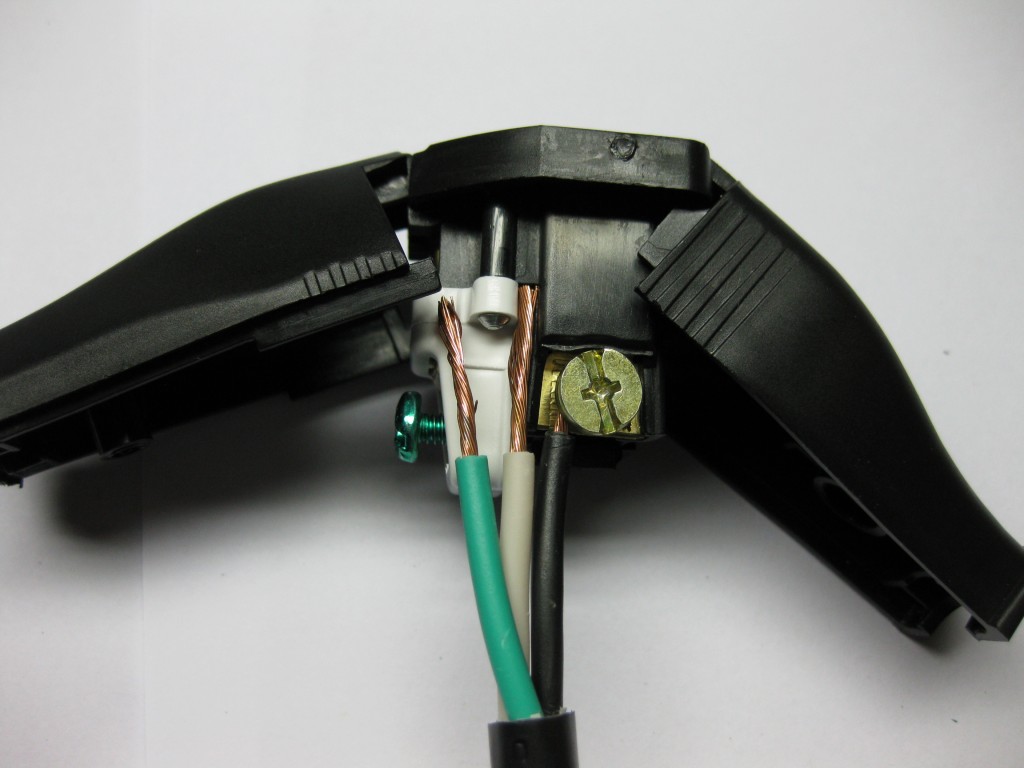
You will want to match up the wires with the screws as follows:
- Brass screw: Black or hot wire
- Silver screw: White or neutral wire
- Green screw: Green or ground wire
Should you happen to be color blind or the screws are uncolored, the green wire will go to the round prong at the top. The white wire will go to the wider prong, and the black wire will correspond with the narrower prong. If the plug is not polarized, the wires can go with either prong.
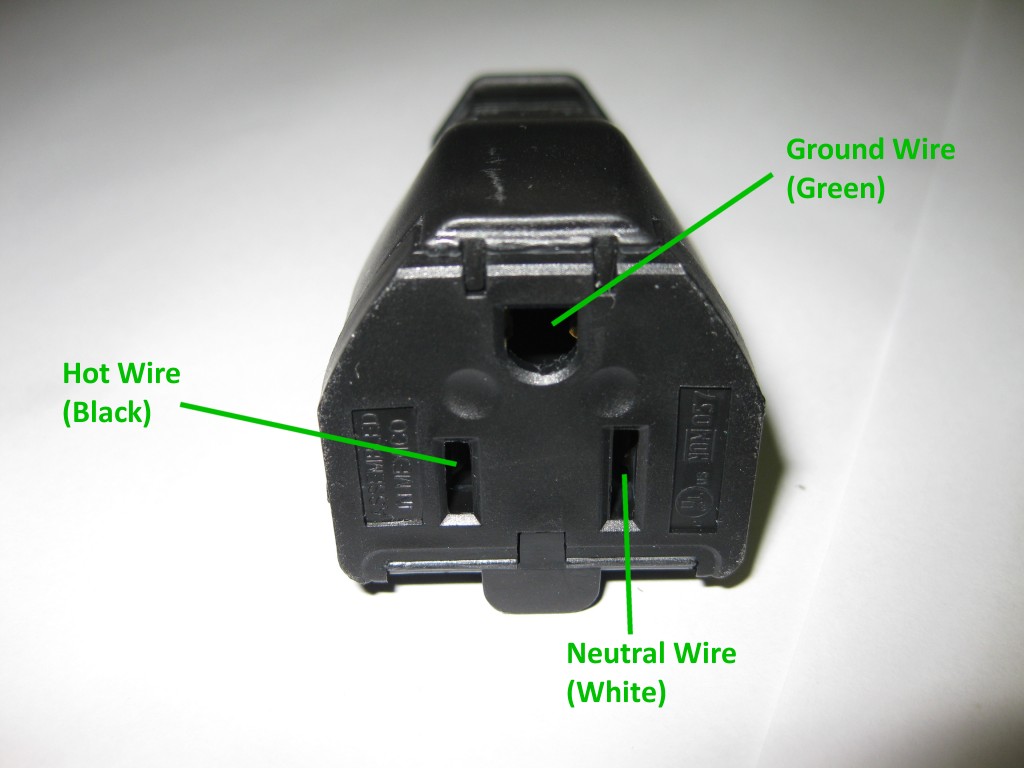
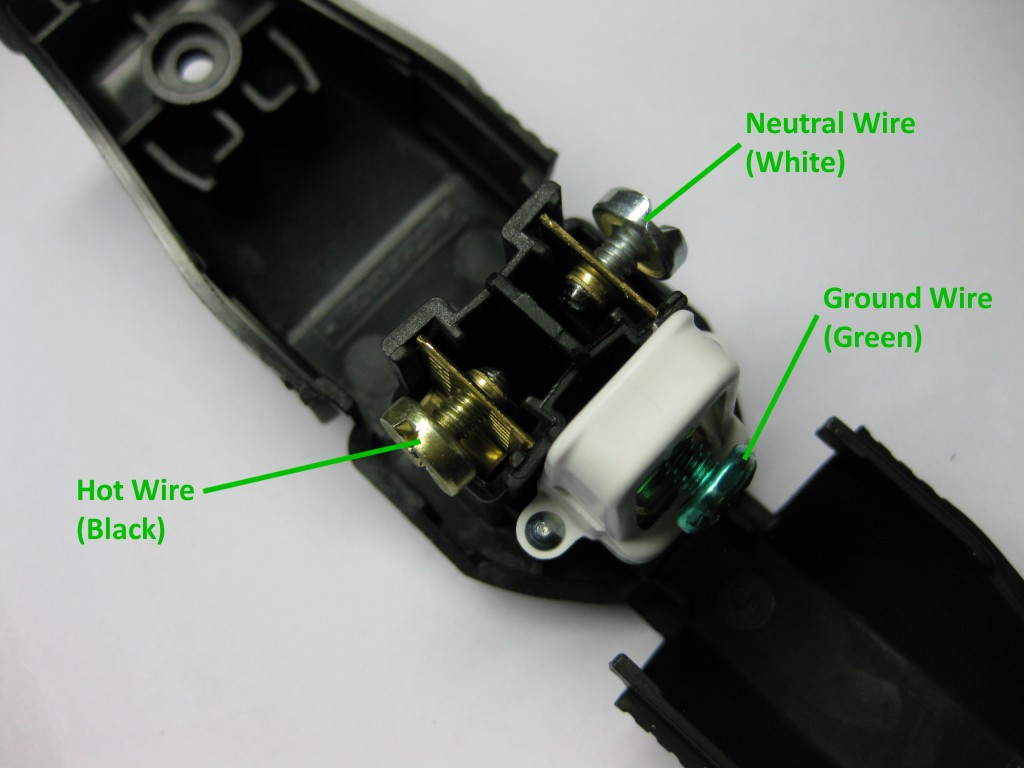
While holding the wire in place, tighten down the terminal screw. Repeat for each wire.
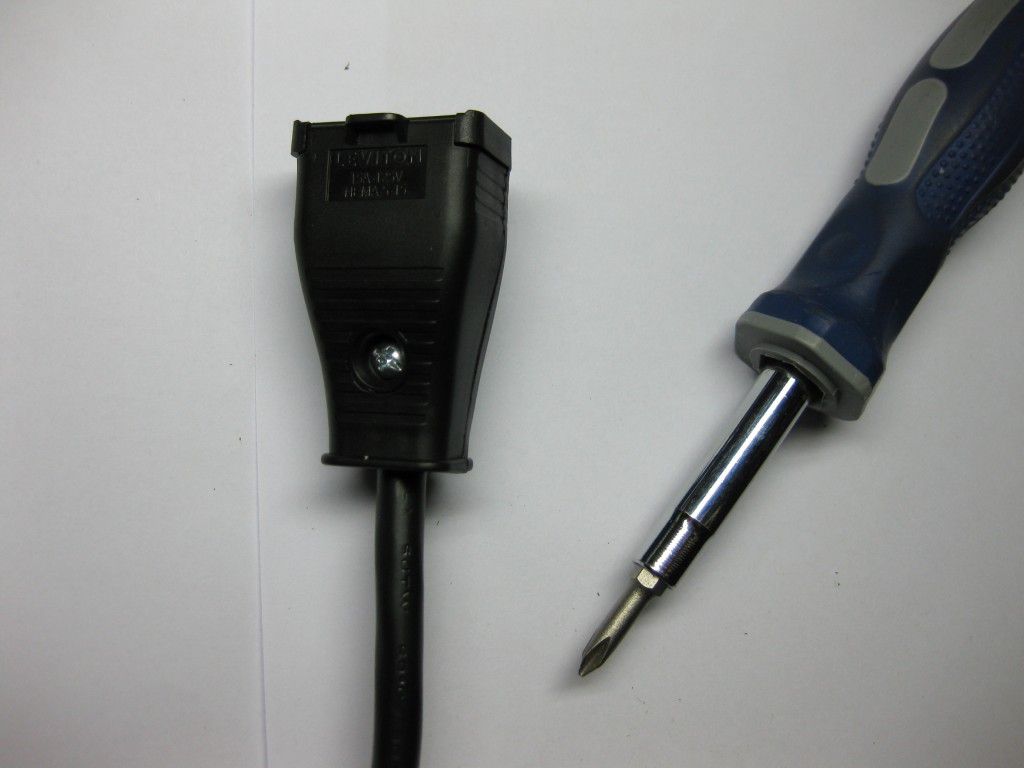
Finally, close back up the plug housing and tighten the exterior screws.
Congratulations, your extension cord is now good as new.
Closing $ense
Constantly replacing damaged extension cords can get expensive quickly. Instead, what you can do is replace the plug if it’s damaged near the end. You can even add a male plug on one end and a female one on the other to make two shorter extension cords if the cord is damaged in the middle.
A 100-foot long 12-gauge extension cord can cost between $70 and $100. Replacing the plug on an extension cord can be accomplished for $5 or less by anyone who knows how to strip wires and use a screwdriver.
I guestimate replacing the plug on the extension cord took me about 15 minutes. The skills to do this repair are very similar to wiring a household power outlet. Anyone can do this repair if they know how to strip wires, use a screwdriver, and match the wires to the correct screw terminals.
